Friday, April 22, 2011

RADIUS Client

To set a RADIUS server for HotSpot and PPP services that has 10.0.0.3 IP address and ex shared secret, you need to do the following:
[admin@MikroTik] radius> add service=hotspot,ppp address=10.0.0.3 secret=ex
[admin@MikroTik] radius> print
Flags: X - disabled
  #   SERVICE         CALLED-ID     DOMAIN        ADDRESS         SECRET
  0   ppp,hotspot                                 10.0.0.3        ex
[admin@MikroTik] radius>
AAA for the respective services should be enabled too:
[admin@MikroTik] radius> /ppp aaa set use-radius=yes
[admin@MikroTik] radius> /ip hotspot profile set default use-radius=yes
To view some statistics for a client:
[admin@MikroTik] radius> monitor 0
             pending: 0
            requests: 10
             accepts: 4
             rejects: 1
             resends: 15
            timeouts: 5
         bad-replies: 0
    last-request-rtt: 0s
[admin@MikroTik] radius>


Connection Terminating from RADIUS

Sub-menu: /radius incoming
This facility supports unsolicited messages sent from RADIUS server. Unsolicited messages extend RADIUS protocol commands, that allow to terminate a session which has already been connected from RADIUS server. For this purpose DM (Disconnect-Messages) are used. Disconnect messages cause a user session to be terminated immediately.
Note that RouterOS doesn't support POD (Packet of Disconnect) the other RADIUS access request packet that performs a similar function as Disconnect Messages

MikroTik

Install Mikrotik

Prepare MikroTik RouterOS CD Installation Disk

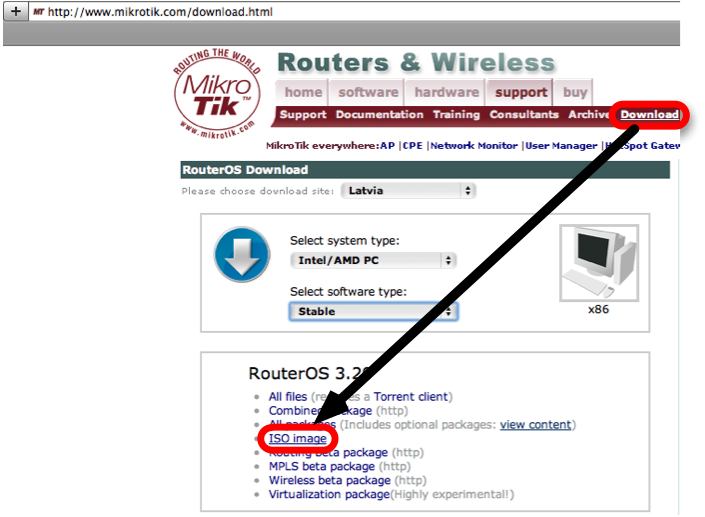
1. Download CD installation Image from MikroTik download page,
Image:CD1.png
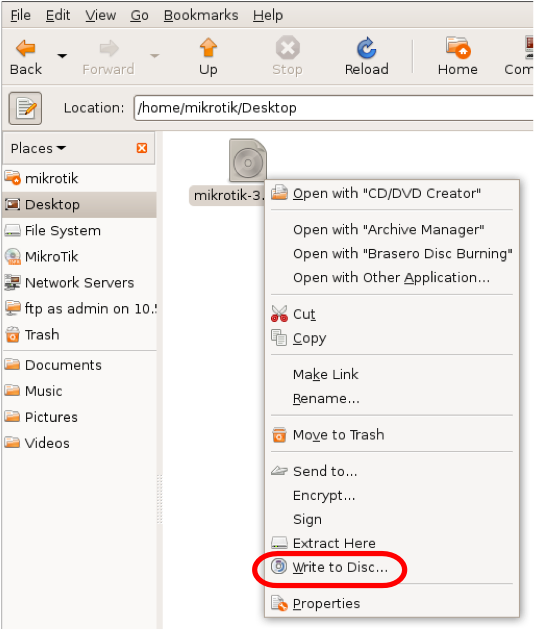
2. Burn ISO image to disk, you need PC with CD-ROM and application to write ISO files to CD. For Linux (the latest Ubuntu release) you can use built-in application. Mouse right-click on the .iso file and specify 'Write to Disk'. You got MikroTik RouterOS installation disk after process is finished.
Image:CD3.png

Router Preconfiguration

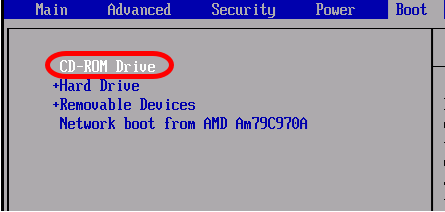
3. Switch on the x86 box, where you want to install MikroTik RouterOS, it should be with CD-ROM as well. Put MikroTik RouterOS installation disk to CD-ROM and set to boot from CD-ROM in BIOS settings,
Image:CD4.png
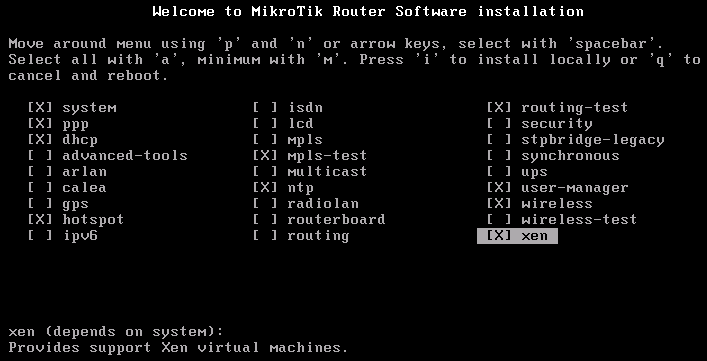
4. x86 will boot from MikroTik RouterOS installation disk and should offer you to select the RouterOS Packages to install,
Image:CD6.png


Package Selection

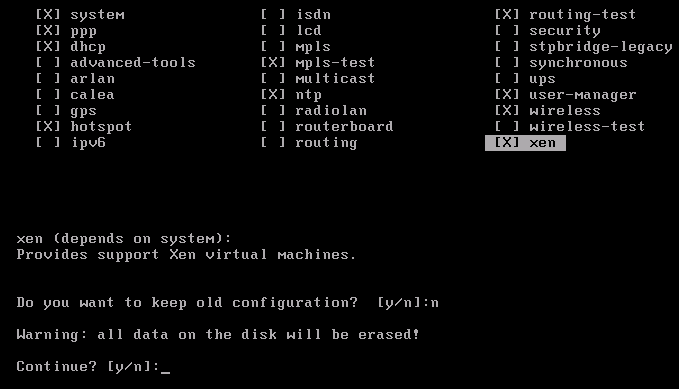
5. Select the packages you want to install, it is possible to select all packages with a or minimum with m, then Press i to install the RouterOS.

Installation

6. If you have previous installation of the RouterOS and want to reset the configuration, then answer no for the question 'Do you want to keep old configuration ?' and click y to proceed,
Image:CD7.png
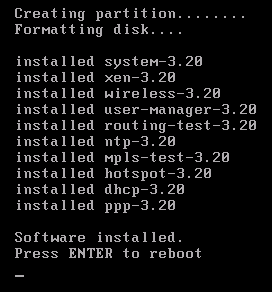
7. You will the process of the packages installation. Router will ask for the reboot after installation is finished,
Image:CD8.png

Post Installation procedures

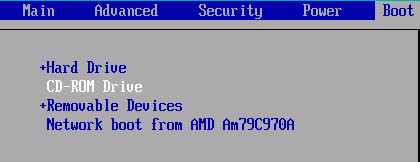
8. MikroTik RouterOS is successfully installed, do not forget to eject CD installation disk and set PC to boot from Hard Drive,
Image:CD9.png
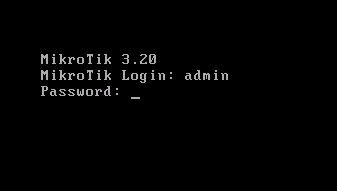
9. MikroTik RouterOS is booted and you are ready to login. Default login is admin without any password,
Image:CD10.png
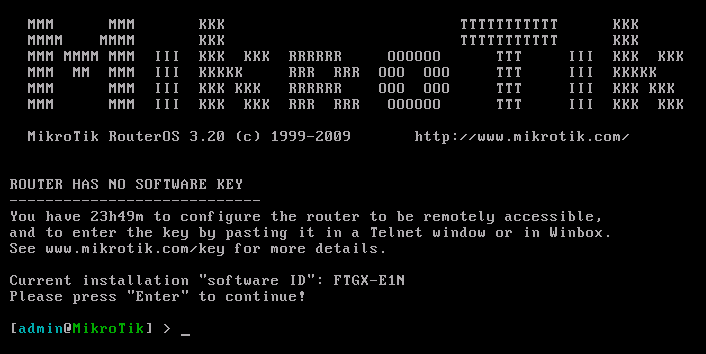
10. The last of the installation to license the router, use the software-id to purchase the license,
Image:CD11.png

Reset RouterOS configuration with CD Intstall

 
Design by Free WordPress Themes | Bloggerized by Lasantha - Premium Blogger Themes | Blogger Templates